Quick Answer: Combat is fully deterministic — no hit chances — so every fight is solvable if you read the board. Push enemies into hazards, or at the Docks into the sea for an instant kill. Chain kills to keep your turn going. Bounce ricochet shots off metal objects to hit enemies behind cover. The strategic layer is a risk dial: going deeper raises the Nightmare Level for more enemies and better loot, your backpack is small, and dying costs you your haul, so extraction timing is the game. Two systems the tutorial under-explains get their own sections below: Nightmare Pressure, and the Delegate button. Do not press Delegate before you know what Manpower is.
Version note: Written at 1.0.0.1607 (July 23, 2026) from the official 1.0 patch notes and Steam store page, with global achievement percentages captured the same day; checked against the game through update 1.0.1.1652B (August 5, 2026). The Nightmare Pressure model and the Chinatown advice come from launch-window forum threads and are flagged in place. This covers your first hours, not district 100.
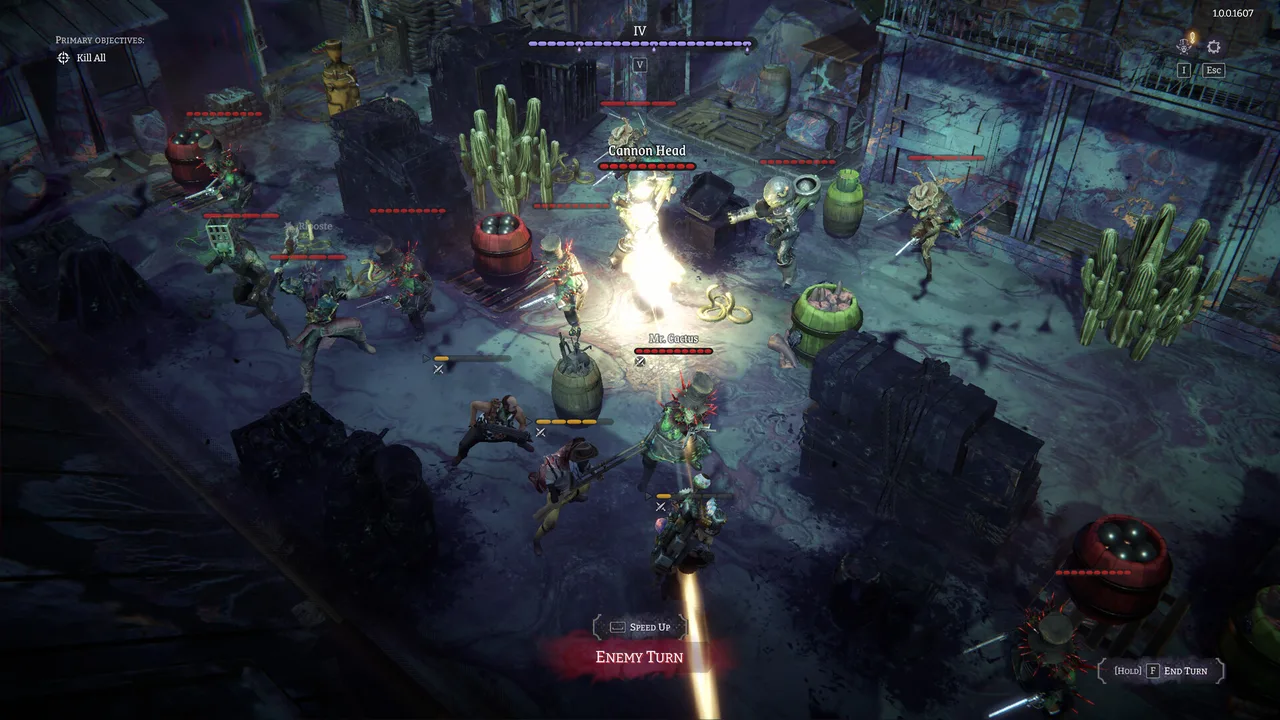 The bar at the top is the Nightmare Level — this fight is at IV, the maximum. You chose this. (Screenshot: Ice Code Games)
The Loop in One Paragraph
Raid a district — a chain of map nodes holding fights, facilities, anomalies and quests. Loot what you can carry. Then either extract with your haul or push one node deeper. Back at the Hideout, the only Nightmare-proof corner of the city, you spend loot on gear and unlock trees, manage the roster, and go again. The 1.0 Prologue starts you with 3 Scavengers, up from 2 in EA, and softened the early game with higher max HP on every class, cheaper story quests and an easier transmitter mission.
Nightmare Level vs. Nightmare Pressure (the System Nobody Explains)
The game gives you an X-key overlay and a Tab detail view and explains neither. Here is the working picture:
- Nightmare Pressure is the rising number. Nightmare Level (I-IV) is the tier it unlocks: when pressure crosses a threshold, the level ticks up.
- Higher level means more and harder enemies, and better loot. At 1.0 more enemies appear at Level I but fewer spawn right at level transitions, thresholds are the same across all districts, and every district's starting pressure was lowered.
- Finishing an expedition raises that district's starting pressure, scaled to the Nightmare Level you finished at. Farming a district repeatedly heats it up. (Community-documented by the player who reverse-engineered it on the forums, not yet in official docs — treat it as the working model.)
- Horror status feeds the same number. A Scavenger who attacks the Dreadweaver of their own Fear raises Nightmare Pressure by 1 per turn until they overcome it by killing any Dreadweaver. Build your party around who can safely fight what, not just who you will face.
- Press V in raids to see active Nightmare buffs.
- The Deadwood (Fear of Forests) only spawns at Nightmare Levels 3-4, and its Coffin interactables with it. Deep raids have their own enemy roster.
Fears Pick Your Enemies
Every rescued Scavenger carries one of 16 Fears — "Fear of Horses," "Fear of Spiders" and so on, visible on their character sheet — and each Fear attracts its own Dreadweaver type. Who you bring decides which monsters and hazards the raid contains, and which resources you can harvest from their carcasses. This is the game's squad-building axis. You are not picking classes for a fixed enemy list, you are picking the enemy list itself.
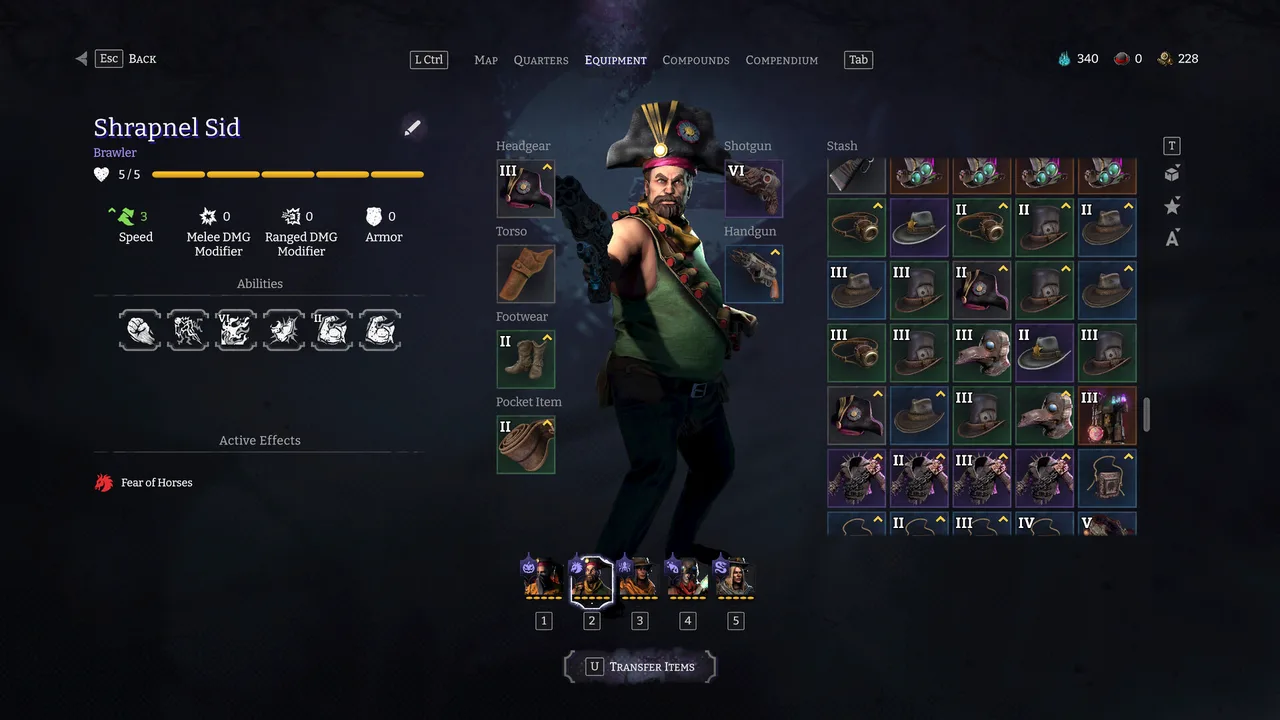 Every Scavenger's Fear is on their sheet — it decides what hunts you. The 1.0 Transfer Items button (bottom) finally makes gear shuffling painless. (Screenshot: Ice Code Games)
Deterministic Combat: the Three Tricks
No dice means the puzzle is the whole game. Three mechanics separate a cleared board from a dead crew:
- Push everything. Melee attacks displace units. Shove enemies into burning stoves, into each other, into your partner's line of fire — and at the Docks, into the water, which instantly defeats any unit. Keep your own crew away from the waterline for the same reason.
- Chain kills. Kills extend your turn, which the store page states outright: "chain your kills to keep the turn going." The achievement stats show it is core skill expression — killing 3 enemies in one turn is an achievement 11.4% of players have, and 7+ in one round sits at 5.4%.
- Ricochet. Bounce handgun shots off metal interactables to reach enemies behind high cover, and note that some ricochet objects add Burning, Plague or Stun to the bullet. Only handguns and handgun-like pocket items ricochet, at appropriate upgrade levels. Since 1.0, hover-highlighting shows Line of Sight in white plus a Line of Fire indicator, so read what is reachable before committing.
Check Dreadweaver susceptibilities in enemy tooltips before you plan a turn. Susceptible enemies take significantly more damage from specific effects — Burning, Plague, Push or a damage type. The tooltip tells you the answer to the puzzle.
Extraction Math: When to Leave
- Loot the board, not just clear it. Backpack space is limited and death costs your carried haul. Since 1.0, winning a fight guarantees nothing — you keep only what you loot.
- Scrap to make space, not to optimize. Dismantling items into components mid-raid unlocks after the Prologue, but it is less efficient than salvaging back at the Hideout.
- Extract early and often while you are learning. The achievement funnel is blunt: 10.8% of players have extracted safely once, 4.4% have done it ten times, 1.5% twenty-five times. Consistent modest hauls beat one greedy dead run, especially before you have bought the Headquarters upgrade that raises the percentage of items retained on a failed run.
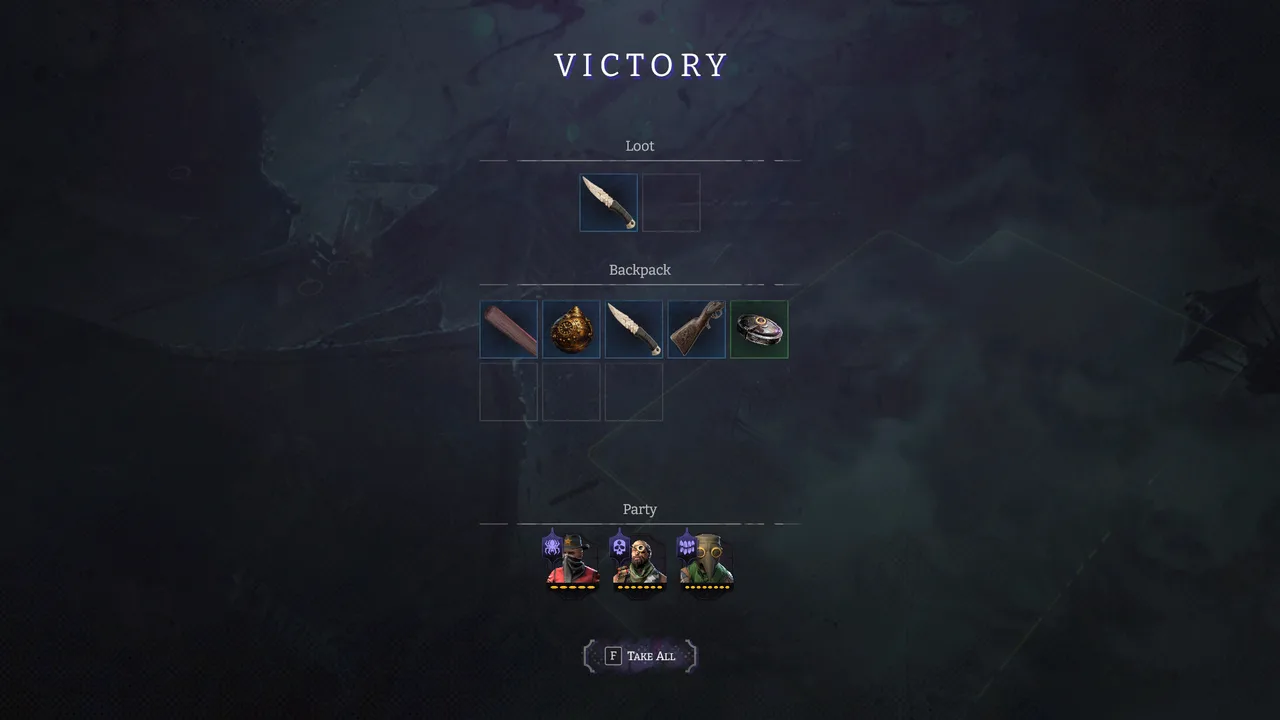 Winning shows you the board's loot — since 1.0 there's no separate victory reward. What goes in the backpack is what you keep. (Screenshot: Ice Code Games)
Delegate, Manpower, and the Hideout
The Hideout's tabs — Map, Quarters, Equipment, Compounds, Compendium — hide one trap: the Delegate button in Quarters. Delegating a Scavenger converts them into Manpower, the resource that Headquarters and Compound unlocks require, and removes them from your active roster. The tutorial that explains this arrives well after the button does.
Rule of thumb: rescue surplus Scavengers first, then delegate the ones whose Fear you do not want defining your raids.
Three more early habits:
- Upgrades go multi-level at once since 1.0. With enough resources, the upgrade popup lets you jump an item straight to any unlocked level.
- Rested characters — those left in the Hideout during at least one victorious raid — show a "Resting" status, so the tooltip tells you who has been sitting out.
- Budget your pocket knives and pocket pistols. They have limited uses since 1.0, so they are consumables rather than free extra actions.
- The Dream Machine's special-weapon slot isn't bugged and isn't empty by accident. Upgrading the Dream Machine to tier 2 opens a slot you cannot fill from your normal inventory, because nothing you carry counts as a Special Weapon. Fight the Abomination again — the repeat kill drops the Electric Staff, which the game classifies as one. A player reported the empty slot as broken; another answered with the source, and the reporter confirmed it.
Struggling in Chinatown? What Veteran Players Actually Recommend
Chinatown is where the difficulty curve bites. Two experienced players collected concrete advice in a forum thread (single thread, August 2026 — the best community consensus so far, but a small sample):
- Build for speed, not HP. Extra actions and mobility beat tankiness. You win by killing and repositioning before enemies pile up, not by absorbing hits.
- Take a Sharpshooter. Both rate it the strongest class for this stretch.
- Pick your Fears deliberately. Since Fears decide the enemy list, Chinatown gets easier when you bring Fears whose Dreadweavers you know how to fight. One of the two recommends Fear of Puppets specifically as a favorable matchup.
- Gear that adds actions per turn. The Rifle Holster (chest slot) lets a Scavenger carry a sidearm alongside the main weapon, and the Gunslinger's Hat gives +1 to all ranged weapons including throwables. Both were named as build cornerstones. Farm the holster in the Slums, so a gearing detour before Chinatown is a legitimate move. The pocket knife also does not cost an action to use — pair that with its limited uses and budget it rather than spam it.
- Spend on Compound upgrades that raise squad size and backpack capacity before pushing deeper.
FAQ
Which district should I raid first? The Slums. It is the story's starting district, and 1.0 gave it more Safe Passages than anywhere else (Chinatown got more Cinderlights and Anomaly Fields, the Wealthy District more Lost Souls, the Docks the overboard mechanic). Between that and the easier 1.0 transmitter mission, it is the intended on-ramp.
Can I quit mid-raid without losing progress? Yes. The game autosaves at the start of every combat turn, so ignore the scary quit dialog. See Bugs & Fixes for the details and the launch-day issues worth knowing about.
What's worth looting beyond gear? Jars of Essence (5 Nightmare Essence each at 1.0, 10 with the corresponding HQ upgrade) and Piles of Junk (convert to 10 Parts after a victorious run) are the compact value carries. Monster parts fuel equipment upgrades, which since 1.0 cost by rarity and are cheaper overall.